The Dreadknights and Imperial Knight start on the board whilst the Terminators begin in Deep Strike reserve. The Comms Relay maximises the chances of the turn 1 deepstrike from the detachment bonus and allow me to deploy as needs.
So the Grey Knights are outnumbered again. Nothing new there!
And the mission? Kanan requests a Maelstrom game. Gulp. These are really tough on the Grey Knights with limited mobility after the Deep Strike, so the Dreadknights and Imperial Knight will be key with their greater movement.
Maelstrom games are played with 6 objectives. However Grey Knights don't take objectives, they kill daemons. How do we resolve this dilemma? Easy: Daemon objective markers.
 |
| +Seek The Daemon And Exterminate Him+ |
Here's the table pre-deployment:
 |
| Yep, that is a lot of Dark Angels |
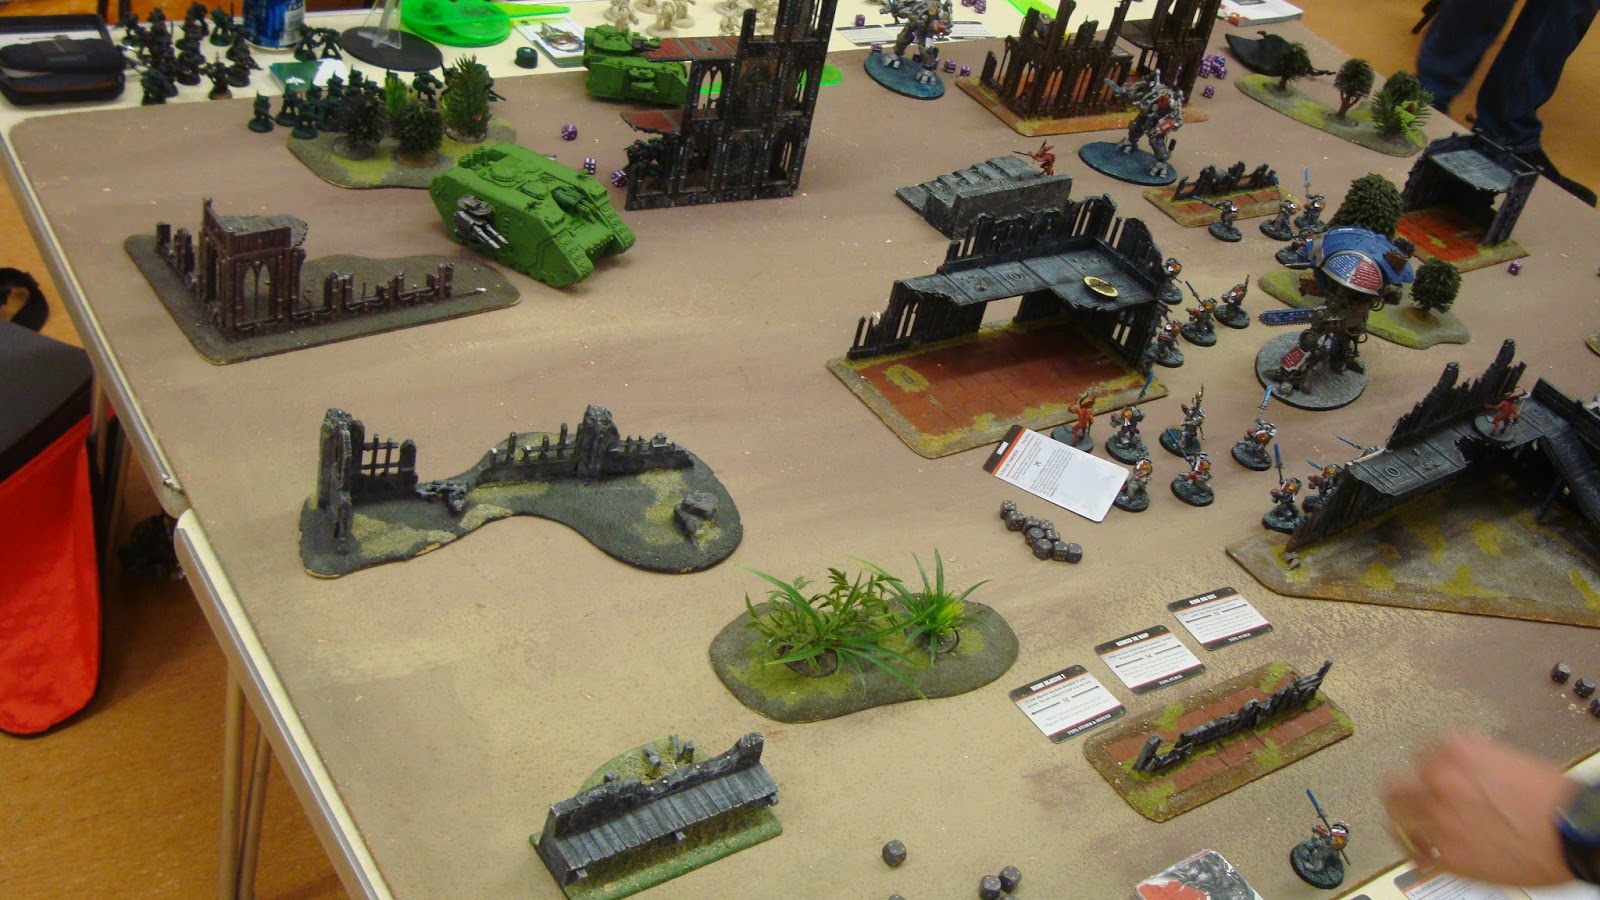
And post deployment:
 |
| Eyeing each other up across the battlefield |
The Grey Knights had initial deployment and get to go first. My deployment is quite conservative to try and minimise any T1 shooting if the Dark Angels seize the initiative. The Dark Angels are spread across their deployment zone, with Scouts, Termies and the Budgie in reserve. The Dark Angels fail to seize, and I intend to make the most of the opportunity.
There are two key elements of the Dark Angel deployment I want to exploit. The Devestators with Lascannons and Plasma Cannon are on the tower at the bottom left, fairly unsupported, and there are a lot of fairly tightly bunched units I can hammer with templates.
The Maelstrom cards give me an objective to go grab, and I also get the control objectives 2:1 to your opponent card. So my reserves will be dropping all over the place.
Top of turn 1, and a lovely close up of the 3 amigos.
 |
| Stomping will commence soon! |
Good set of reserve rolls and deep strikes follow and the big guys move up (using teleport "shunts" on the Dreadknights). Shooting then begins and I clear the heavy weapon Devestators and the Karskin hanging in the open.
 |
| Midway through the shooting phase. |
At the end of turn 1 I'm looking in a pretty good position: I've taken out a big threat, claimed First Blood and claimed a couple of Maelstrom cards. Some close ups:
 |
| Terminators arrive |
These Terminators above were positioned to provide some shooting on the Devestators. The formation bonus of shoot and run is really handy as I was able to create some gaps in case the Plasma Cannon gunner got to return fire.
 |
| Surprise! |
My Warlord had rolled "First to the Fray", which is a really nice Warlord trait; automatic turn 1 deepstrike with a re-roll on the scatter dice (which got my onto this objective).
 |
| Teleporting into trouble. |
The Dreadknight shunts onto another objective, then casts Sanctuary. This is a key power for the Grey Knights, giving the big guy a 4+ invulnerable save; important for when the lascannons start shooting.
 |
| Advancing (slowly) |
The big blue bug also stomps forward, taking care to remain within range of the objective. There's a further objective in the ruin to his right with a Terminator squad claiming it.
Dark Angels Turn 1; lets see what the First Legion can do!
 |
| The Dark Angel "fortress" |
The close up shows there's a lot of bodies waiting in that corner for me to try and crack open.
 |
| The bigger picture |
The Dark Angel return fire is sporadic; the Land Raider moves up, and the shooting from the tanks kills a Terminator and a scores a couple of wounds on the central Dreadknight.
 |
| Dark Angels Spot the Difference competition |
Grey Knights turn 2. Maelstrom cards aren't amazing, but I think I get the manifest psychic powers card which should be easy to score. So the plan is to keep the pressure on the Dark Angel castle; move up and keep on shooting,
 |
| Closing the net |
I think I owe Kanan an apology at this point. These pics are mid T2 movement, and the Dreadknight move to the back from the objective on the steps looks overly long. I could have twisted the base when I put the model down or just got distracted by the banter. Bad bad boy. Excuses over; I'll buy K a coffee to make it up! Lesson #1; its really easy to make errors when playing these games, and not to pick them up at the time.
 |
| I told you there were Terminators hiding there. |
Nice close up of the Terminators on my back edge:
 |
| Bravely guarding the shed at the end of the garden. |
And here is the board at the end of the movement phase.
Again, spacing the Terminators out for the anticipated Death Wing Terminator drop with their plasma cannon.
 |
| End of Psychic Phase |
I'm trying out the "Librarius" discipline which has some nice powers on the list. The Librarian casts Psychic Fortress giving a Fearless bubble just in case shooting casualties in the Dark Angels turn give me a problem.
Turn 2 shooting focuses on the clump of Dark Angels hunkered down in the ruin. Much templatey-goodness follows:
 |
| End of GK turn 2 |
Yep, the Dark Angels had a really bad run of luck on amour and cover saves. The poor dice rolls continue into the Dark Angels turn 2, and their reserve rolls. Only one squad of Terminators turn up. The make it their mission to try to take down the Blue Bug, dropping in his rear arc.
 |
| Boo! |
And again in close up:
 |
| He's very big |
Error #2 of the game (although we did catch this one). Too many heavy weapons in the squad. What the hell, the points were paid for, so use them! Ion Shields to rear facing and all those shots promptly miss or bounce. The Dark Angels are having a realllly bad day.
We are starting to run short on time now, so turn 3 will be it. The Death Wing must die!
 |
| Looking even bigger from this direction |
Blue Bug turns, and the Librarian casts Null Zone (reducing enemy Invuln Saves). Much shooting ensues.
 |
| Doh |
The Deathwing are caught in a crossfire from the Grey Knight Terminators. True to form there are an awful lot of ones rolled and a single man is left standing. Who gets to eat Chainsword.
 |
| Ouch |
Barely. If it wasn't for Null Zone he would have survived!
The rest of turn 3 for the Grey Knights is fairly uneventful; the Dreadknight shoots then charges the Predator only to fail to take it down.
Turn 3 for the Dark Angels starts to see a reversal of fortune with the rest of the reserves arriving. The Dreadknight finally dies to a combination of shooting from Veterans, Storm Budgie and the Predator whilst Belial's squad deep strike in and prepare to cause trouble.
 |
| Let's try that again. |
Alas they fail to take down Big Blue, and at that point we have to call it with the Grey Knights ahead on Victory Points. Many thanks to Kanan for a fun game, and taking all the great pictures; they make the article!


No comments:
Post a Comment